
This blog post might be a bit disturbing. You might have nightmares about major eyebrow close-up's and dye disasters.
If you do, I apologise in advance...
Anyway, my eyebrows are the kind that need a little help. Every few weeks they practically disappear off my face, and it's not from over plucking. It's merely the eyebrow tint I use that's either grown out or faded, and it leaves me looking like a scary alien. It doesn't help that my brows are very, very sparse and seem to vanish entirely close to my nose and temples.

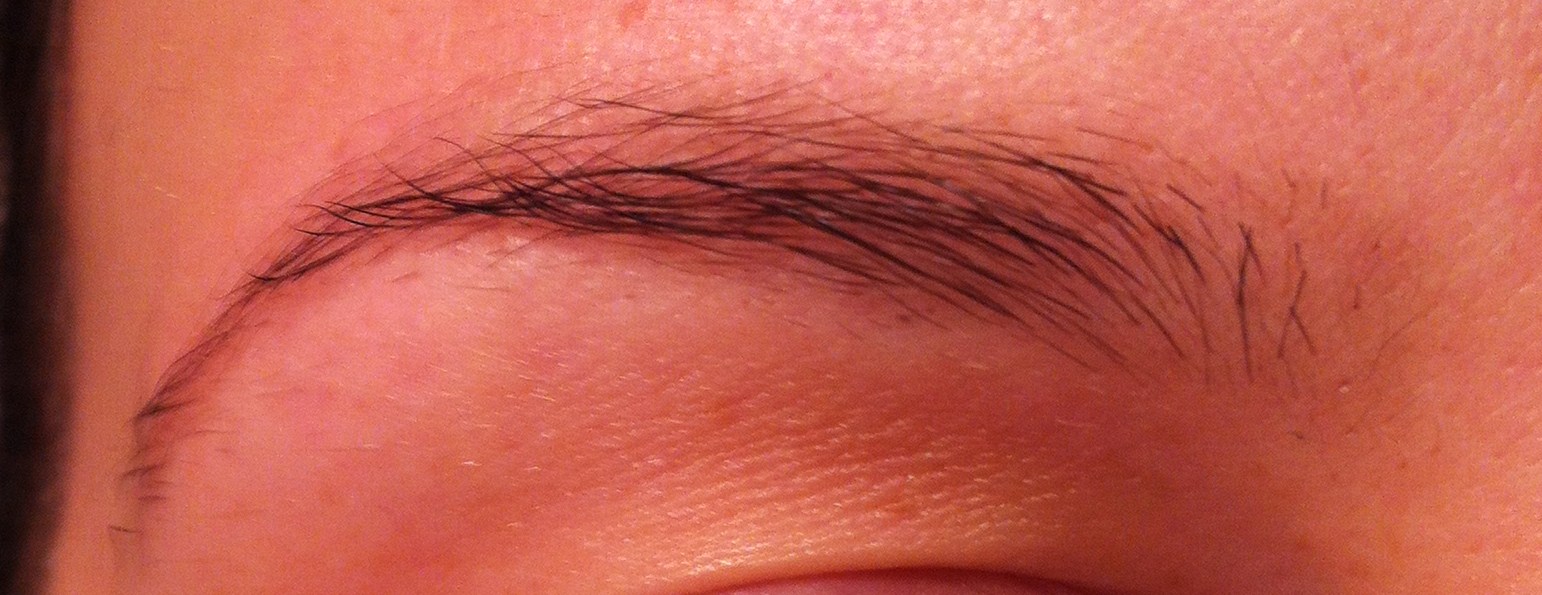
There it is, my poor, pale, un-dyed right eyebrow, because it looked better than the left.
To try and cut back on the amount of filling in I have to do, (and make me look more human) I dye my brows, and it makes a huge difference.

I use the Colorsport '30 Day Mascara' in Dark Brown, which is around £8.79*ish* from Boots. It might say mascara but I never use it on my eyelashes, I'd rather leave that to the pro's... but you can use it on your eyebrows.
I was inspired to do this as the little leaflet inside only shows you how to apply this on your eyelashes, with only a tiny paragraph, (which from use I've found is inaccurate) on how to tint your eyebrows.
In your little pack you will get:

-A mixing tray
-A mixing wand
-Dye cream
-Developing liquid
-A 'how to' leaflet
I put cotton buds in the picture as I use them, but they don't come with the pack.
How to dye your brows:
*FIRST OFF DO A SKIN PATCH TEST 48 HOURS BEFORE* << yes I'm good.

1. Squeeze a 1p sized blob of the dye cream into the mixing tray.

2. Carefully add a few drops of the developer into the tray. I've been using this a long time and just tend to go for it, but I use about 8-10 drops. If you've never used it, I'd go for a couple at a time until you can mix it into a paste like in step 3.

3. Use the little wand to mix the dye cream and developer together. The picture is from about mid-way through mixing, the final mixture will be a little thicker and more 'together' than this.

4. At this point abandon the wand and use a cotton bud to apply it, it just works better. Your mixture needs to be thick enough to not slop off to cotton bud - you don't want it to drip into your eye.
Also at this point, make sure you are not in view of any younger brothers, or older brothers for that matter. It won't be worth it...

5. Using the cotton bud, apply the dye. Once your eyebrow is covered, use a clean cotton bud to go around the edges of your brows and tidy up the outline - this dye can stain your skin. You can also use Vaseline to outline your brow, but I would clean up the edge regardless.

6. Leave for around 10 minutes. The first time I used it I went by the leaflet and left it a very short amount of time, no longer than a couple of minutes, but to no avail - I know that professional dyes need to be taken off very quickly, but I presume with this one that being a non-professional version, the active ingredient just isn't quite as active.
After 10 minutes remove the dye with cotton wool pads.
7. PRETTY EYEBROWS ARE HERE!! Hopefully you can see a big difference between the before and after pictures, this is a slightly different angle, which I didn't realise until now lol...but still, my eyebrows appear to be twice the thickness as before, and are much darker. Tidy up any strays now rather than before, because you will now be able to see the shape you want much more clearly :) this picture was taken before I did so.
I hope this is a help to anyone who wants to try this - I can't recommend it highly enough.
Here's to not looking like a brow-less alien woop-woop!!
No comments:
Post a Comment
Just a big thank you to anyone who takes the time to leave a comment, I can't tell you how much I appreciate it, and I genuinely love to read, and will TRY and reply to each and every one of them.